
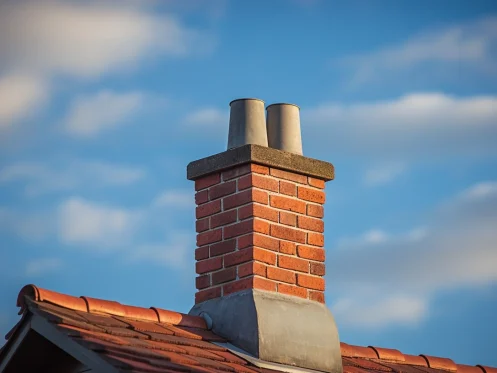
Spotting the early signs of a chimney flashing leak is essential for protecting your home from serious water damage. The chimney flashing—installed where your chimney and roof meet—serves as a watertight barrier that prevents rain from penetrating the roof system. When it fails, it often leads to a roof leak, damage to the chimney wall, and long-term deterioration of structural materials.
- Water defense: Flashing seals vulnerable areas around the chimney to prevent entry points.
- Structural risk: A leaking chimney can weaken your roof and attic.
- Targeted repairs: Fixing flashing prevents widespread moisture intrusion.
This guide explains how chimney flashing works, what signs indicate a leak, and how to handle chimney leak repair the right way.
💧 What Is Chimney Flashing?
Chimney flashing is a system of metal components that create a waterproof seal at the point where the chimney meets the roof. It’s especially important for masonry chimneys, which are porous and prone to absorbing moisture.

Flashing Components
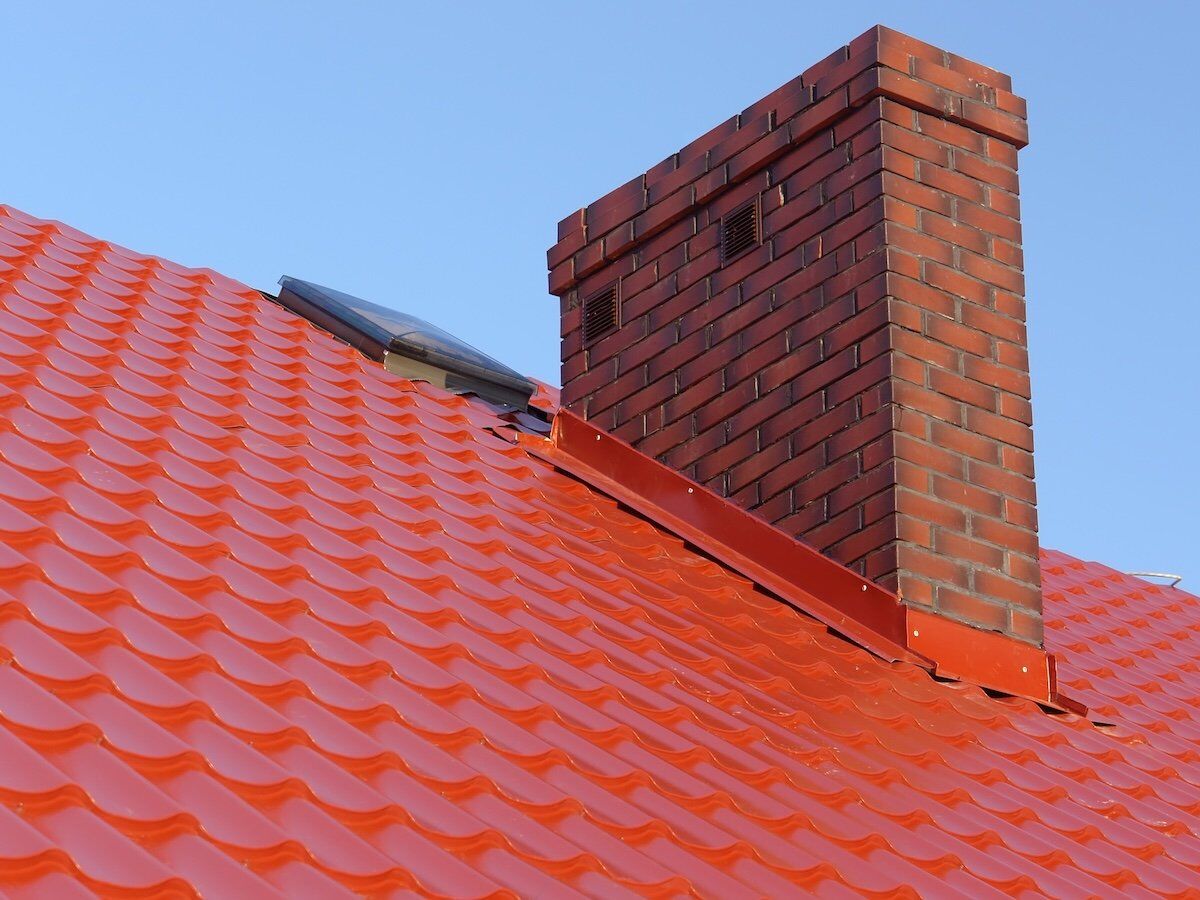
- Base flashing: Installed beneath the shingles and wraps around the lower part of the chimney.
- Counter flashing: Embedded into the mortar joints of the chimney and overlaps the base flashing.
- Step flashing: Installed in a stair-step pattern along the roofline where it meets the chimney sides.
When layered correctly, these parts direct water away from the chimney and into the gutters.
🤔 How a Chimney Flashing Leak Starts
A chimney flashing leak can develop slowly over time or occur suddenly after a storm. Because the area around the chimney is exposed to wind, rain, and snow, flashing must be precisely installed and maintained.
Common Causes
- Improper installation: Flashing that isn’t layered properly allows water to slip behind the barrier.
- Weather damage: High winds or hail can bend or loosen flashing materials.
- Mortar failure: On masonry chimneys, degraded mortar can cause the counter flashing to detach.
- Age and corrosion: Over time, metal components rust and sealants dry out, creating gaps.
⚠️ Signs You May Have a Chimney Flashing Leak
Knowing what to look for can help you catch a chimney leak before it becomes a major problem. Here are the top warning signs:
1. Moisture Near the Fireplace
- What to check: Dampness, water stains, or peeling paint on the wall near your chimney.
- Why it matters: This often signals water entering through flashing near the chimney wall.
2. Stains or Leaks in the Attic
- What to check: Wet insulation, dark patches, or water running along rafters above the chimney area.
- Why it matters: A roof leak caused by flashing failure may begin in the attic before showing up elsewhere.
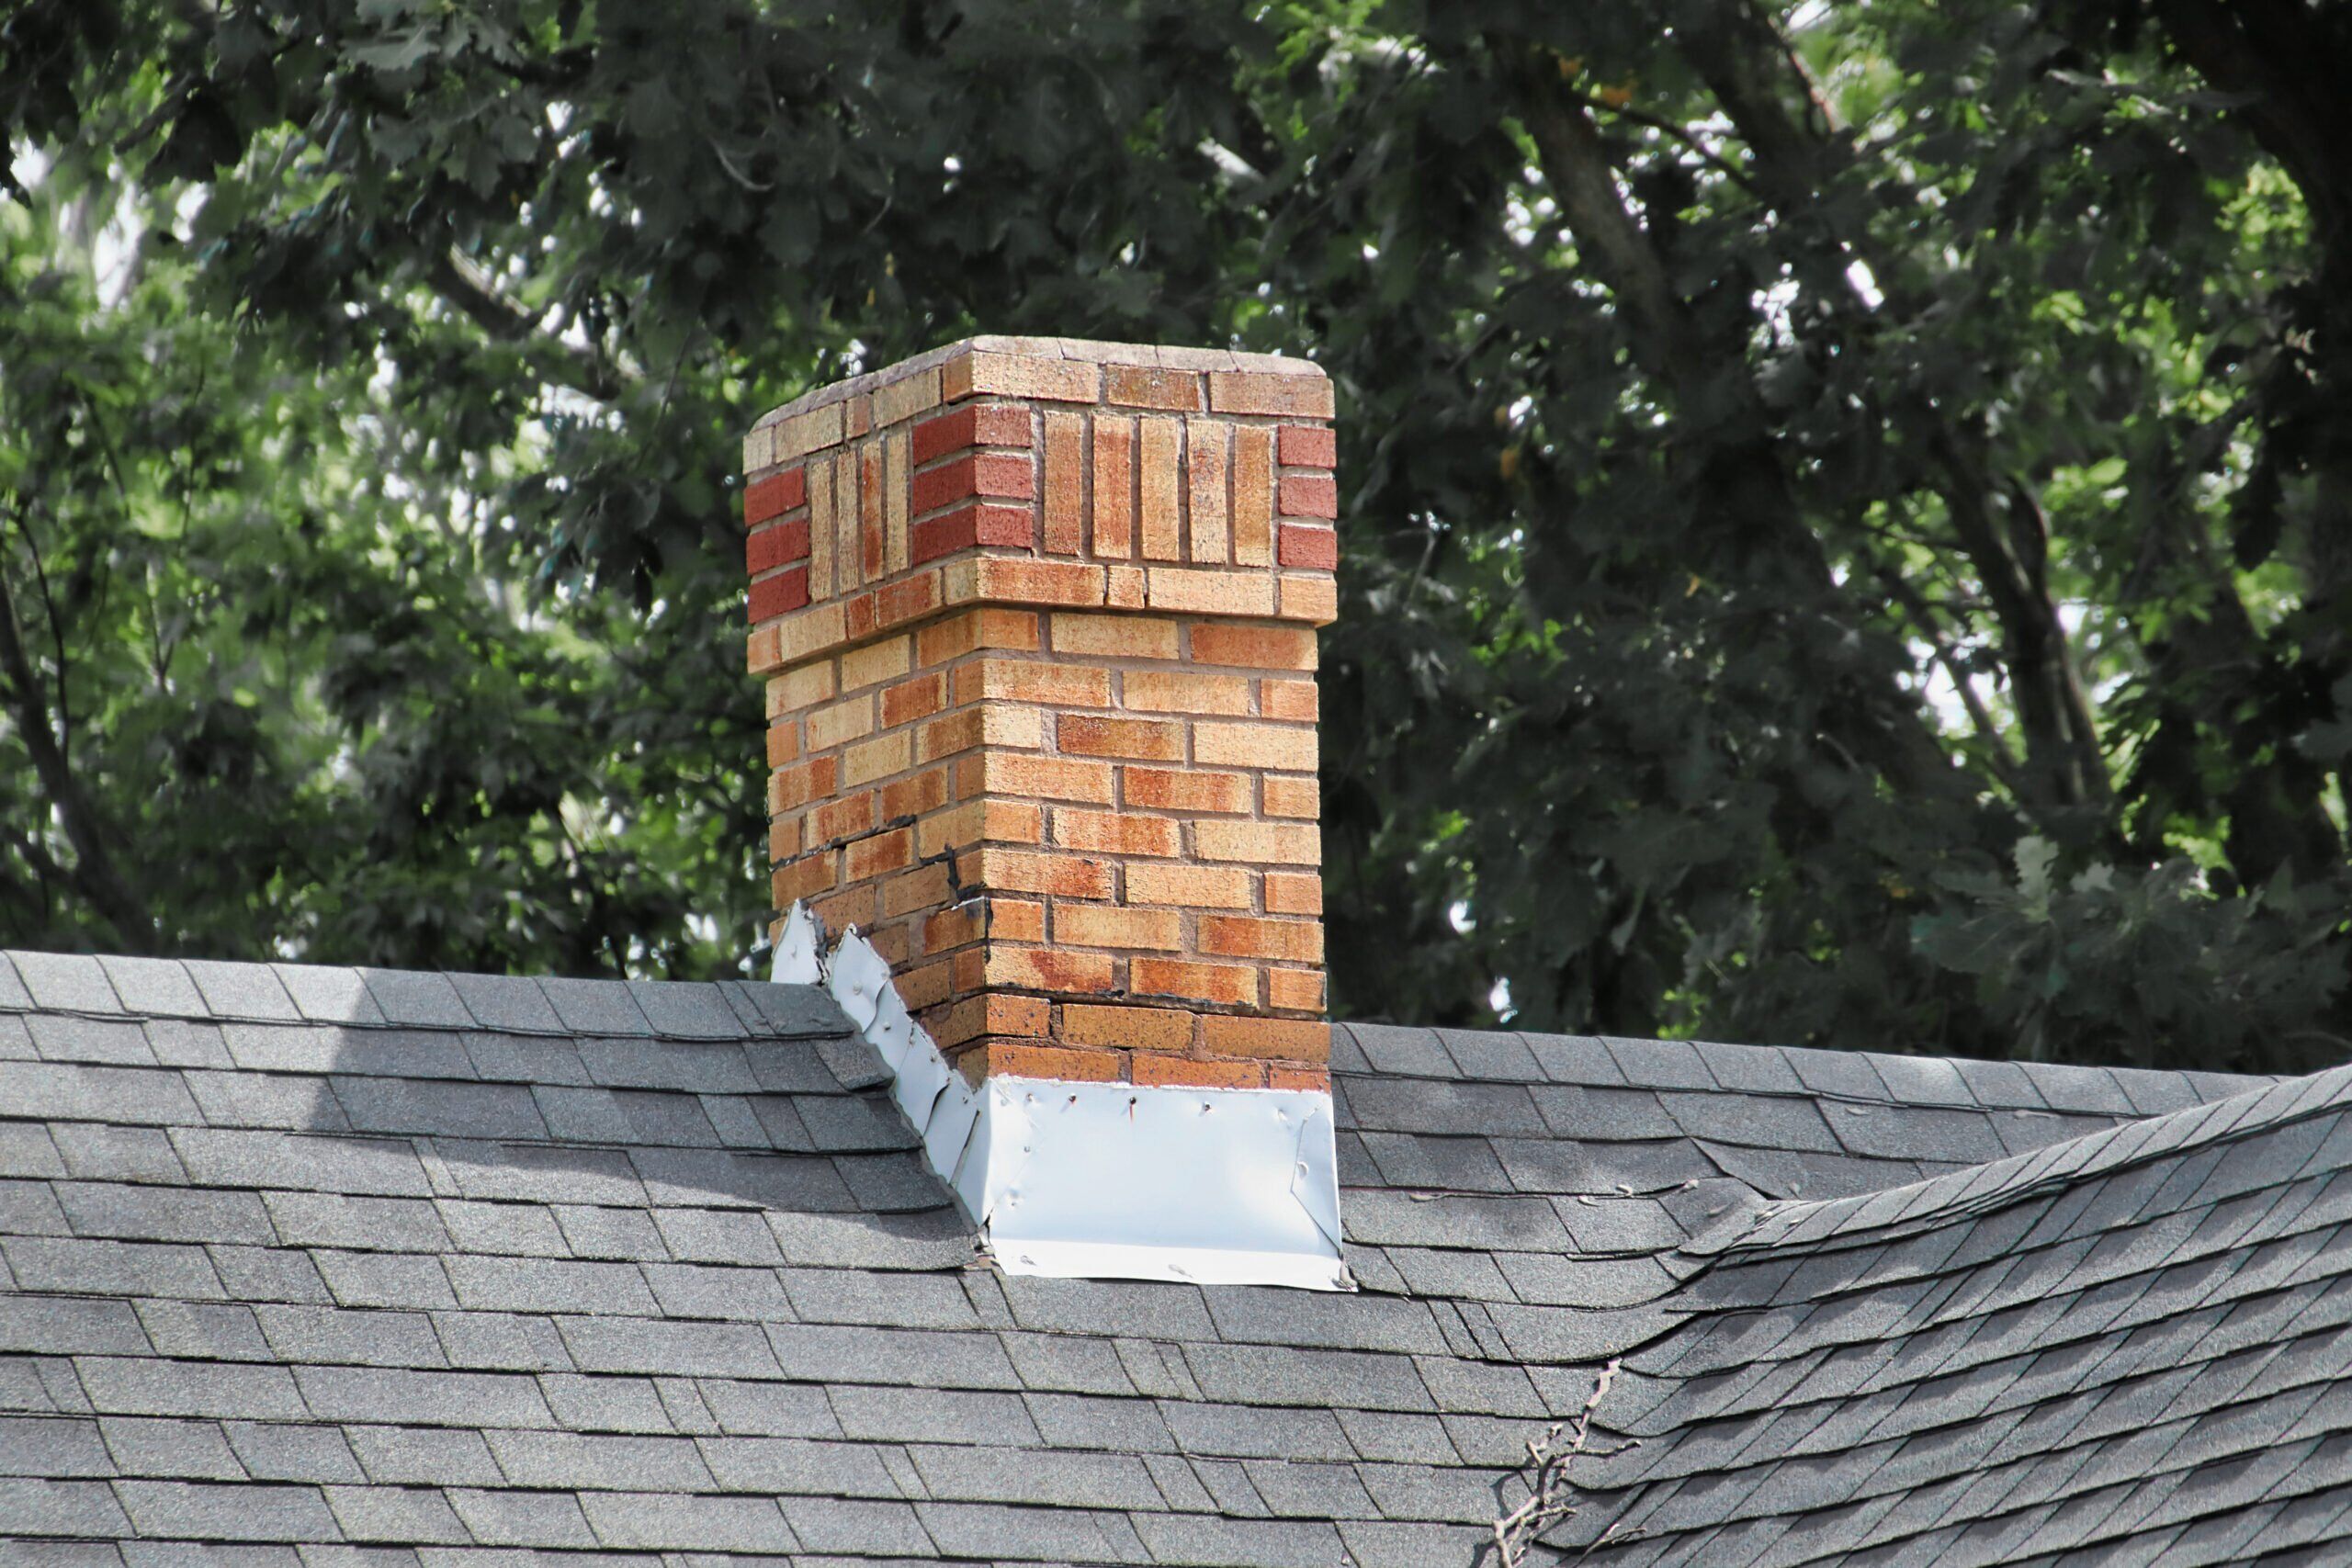
3. Cracked or Discolored Chimney Mortar
- What to check: Crumbling mortar, rust stains, or moss growth at the base of the chimney.
- Why it matters: Water from a leaking chimney often deteriorates the mortar and surrounding brickwork.
4. Loose or Missing Flashing Materials
- What to check: Metal strips lifting away from the roof or chimney face.
- Why it matters: Damaged or missing step flashing or counter flashing allows water infiltration.
💧 Other Chimney-Related Leak Risks
Even when the flashing is intact, other components of the chimney can contribute to water problems.
Chimney Crown
- The chimney crown is the concrete cap at the top of the chimney. Cracks in the crown allow water to seep down into the structure and eventually leak into your home.
Chimney Liner
- A compromised chimney liner can result in improper drainage and moisture issues inside the chimney, increasing pressure on the flashing system below.
🛠️ How to Fix a Chimney Flashing Leak
The best way to stop a chimney flashing leak is to replace or repair the flashing system while inspecting related roof and chimney components.
The Repair Process
- Remove damaged flashing: Old or corroded flashing is taken out carefully.
- Inspect the area: Roof decking and chimney bricks are examined for moisture damage.
- Install new flashing layers: New step flashing and counter flashing are installed with proper overlap and sealing.
- Repoint mortar as needed: Crumbling mortar joints in masonry chimneys are repaired to anchor new flashing.
- Seal and finish: Waterproof sealant is applied, and gutters are checked to ensure proper drainage.
Only trained professionals should perform these repairs due to the complexity and height involved.
⭐️ Why Choose Professional Chimney Leak Repair?
A DIY patch or sealant may hide the symptoms—but won’t resolve the root cause of a chimney leak. Professional roofing contractors can evaluate not only the flashing but also the surrounding chimney structure, roof slope, and water flow.
What the Pros Bring
- Full-system evaluation: From shingles to the chimney liner and chimney crown, everything is inspected.
- Proper flashing technique: Experts use the right gauge metals and layer them correctly.
- Long-term reliability: Quality materials and proper installation ensure the leak doesn’t return.
- Warranty-backed repairs: Most pro jobs come with workmanship guarantees.
🛑 Stop Chimney Leaks Before They Start
A chimney flashing leak may start small, but the damage it causes can be severe. Whether you’re seeing signs of water near the chimney or want to prevent future problems, don’t wait. Timely chimney leak repair can protect your attic, drywall, and roof from unnecessary damage.
Contact Indy Roof & Restoration today to schedule an inspection. We’ll keep your home safe, dry, and secure for years to come.
